
Joint Pain in Women Over 40
Why Women Over 40 Experience More Joint PainWomen entering their 40s often notice new aches and stiffness that weren't present in their younger years. This increase in [...]
Read More
Medically reviewed by Lauren Okafor | MD , The Frank H Netter MD School of Medicine, Loyola University Medical Center on April 24th, 2026. Updated on April 30th, 2026
Ankle fractures typically take 6 to 8 weeks for bone healing, but full recovery to high-impact activities can extend to 9 to 12 months depending on fracture severity and individual healing factors.
The first two weeks focus on immobilization, elevation, and pain management to reduce swelling and protect the healing bone.
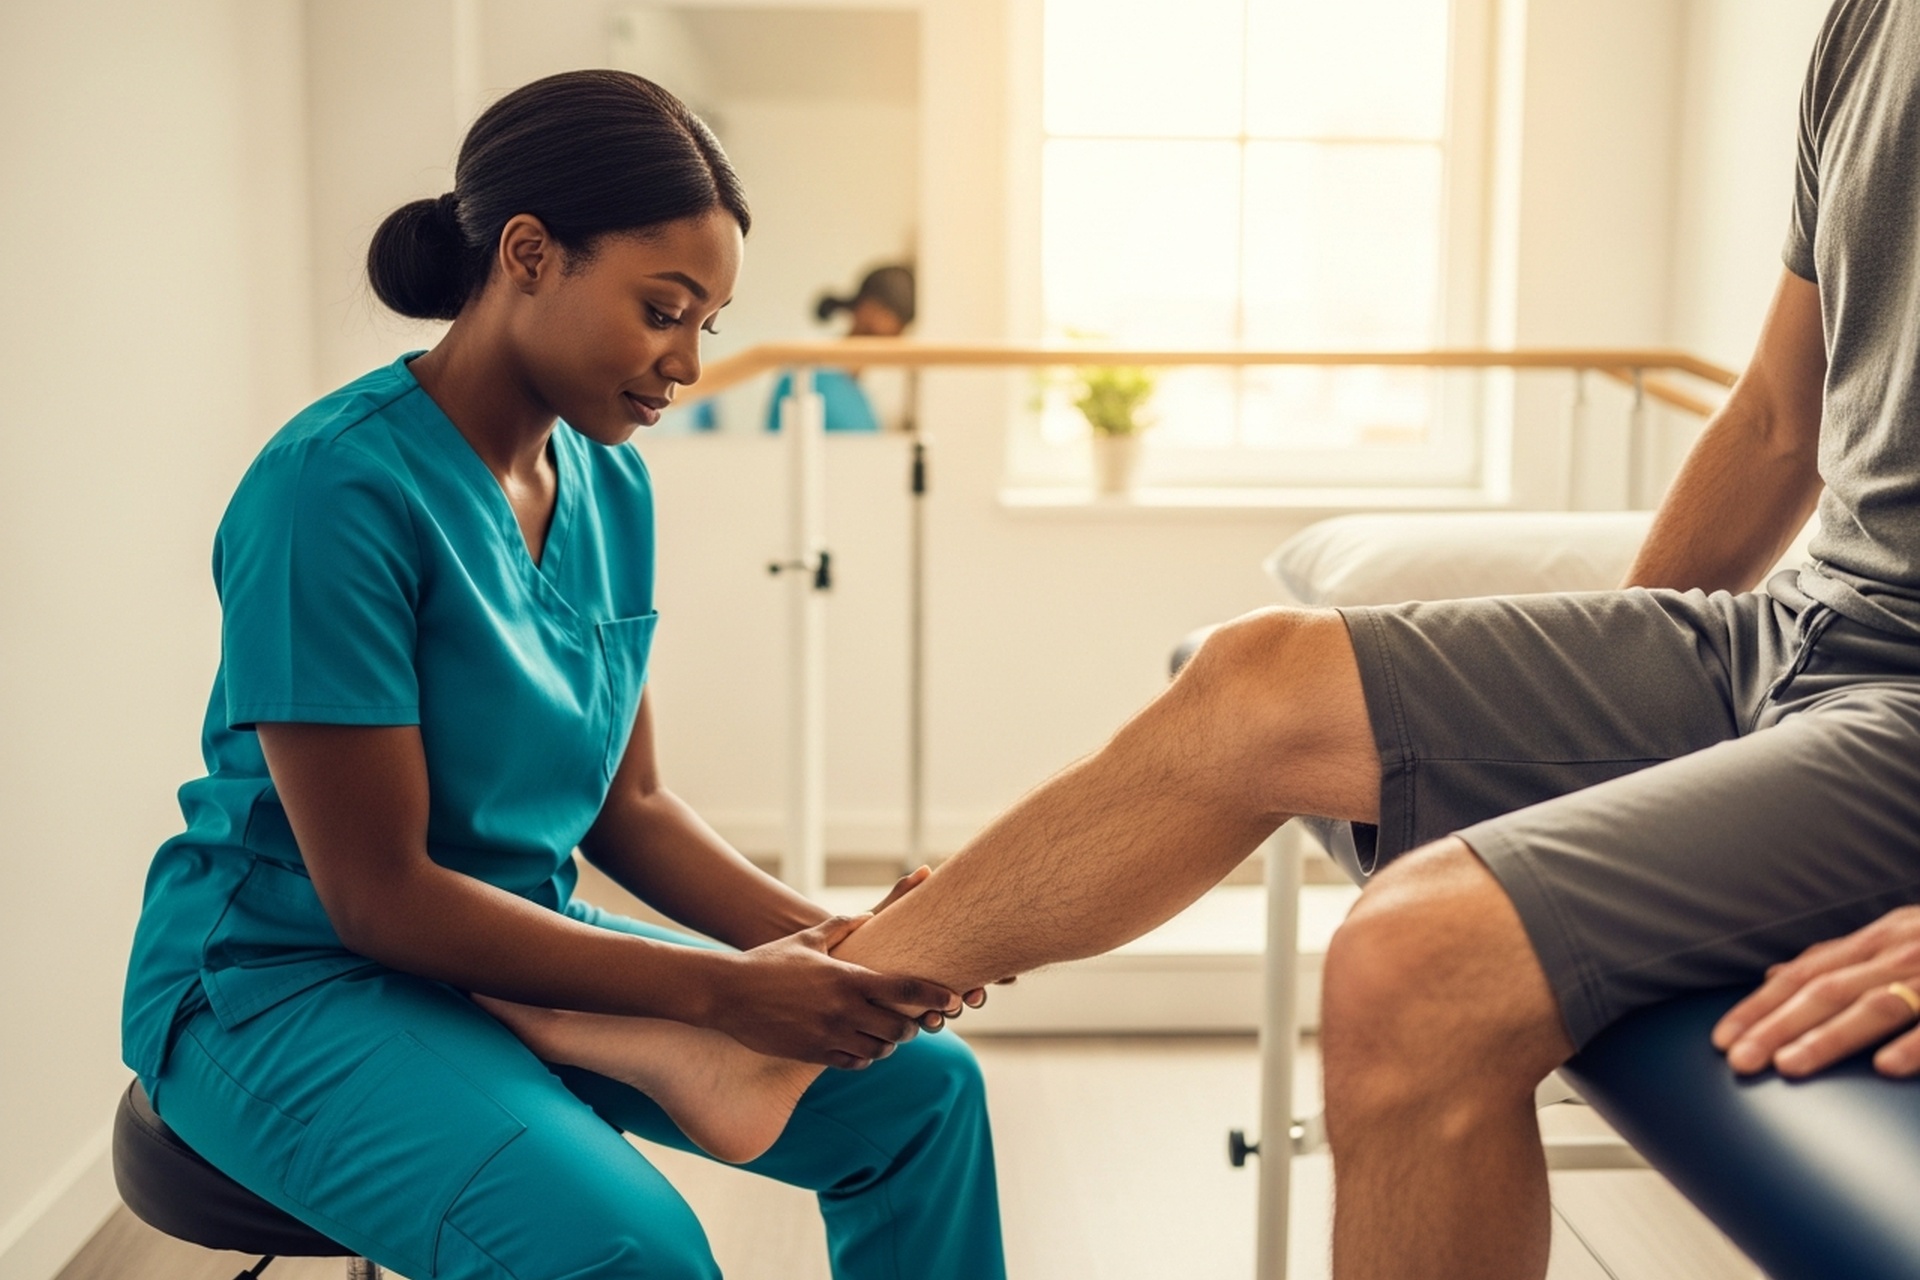
Physical therapy is essential for regaining strength, balance, and range of motion once weight-bearing begins.
Returning to running and sports requires meeting specific strength and stability benchmarks, not just time-based milestones.
For personalized guidance between medical appointments, Doctronic.ai offers AI-powered consultations to help answer recovery questions any time of day.
A broken ankle changes daily life in an instant. One wrong step, and suddenly walking to the kitchen becomes a challenge. The good news is that most people recover fully, but the path from cast to full activity follows a predictable timeline when approached correctly.
Understanding what happens at each stage helps patients set realistic expectations and avoid setbacks that extend healing time. Recovery after ankle surgery typically takes 8 to 10 weeks for bone and tissue healing, though returning to sports and high-impact activities takes considerably longer.
An ankle fracture can range from a single crack in one bone to multiple breaks involving the joint surface. The type and location of the fracture determine the treatment approach and influence recovery speed at every stage.
This guide breaks down each phase so patients know exactly what to expect and when.
The first 48 to 72 hours after a fracture bring significant swelling and discomfort. Ice application for 15 to 20 minutes every two to three hours during waking hours, combined with elevation above heart level, dramatically reduces fluid buildup.
Pain medication prescribed by the treating physician should be taken on schedule rather than waiting for severe discomfort. Swelling control matters beyond comfort because excessive swelling slows bone healing and increases the risk of complications.
Most ankle fractures require complete non-weight bearing for the first two weeks. This means using crutches, a knee scooter, or a wheelchair for all movement.
Putting weight on the injured ankle during this phase can shift bone fragments and delay healing. Patients should practice safe navigation through their homes, removing tripping hazards and arranging frequently needed items within easy reach.
Around the two-week mark, many patients transition from a cast to a removable walking boot. This shift allows for wound checks, skin care, and early movement exercises.
Partial weight bearing typically begins with toe-touch weight, progressing gradually based on X-ray findings and pain levels. The boot provides protection while allowing controlled loading that actually stimulates bone healing.
Patients dealing with ankle pain during this transition should track their symptoms carefully, as increased pain during weight bearing may signal that progression needs to slow down.
Gentle ankle circles and alphabet tracing with the foot begin during this phase. These exercises prevent joint stiffness and maintain some muscle activation without stressing the healing bone.
Patients should remove the boot several times daily for these exercises, keeping movements slow and pain-free. The goal is to maintain flexibility rather than build strength at this stage.
Between weeks six and eight, most patients can begin wearing supportive athletic shoes for short periods. The transition should be gradual, starting with an hour or two of shoe wear while spending the remaining time in the boot.
Shoes with good arch support and cushioning protect the healing ankle better than flat or unsupportive footwear. Many patients find that high-top shoes provide additional stability during this transition.
Calf muscle atrophy happens quickly during immobilization, and rebuilding takes deliberate effort. Physical therapy is crucial for regaining range of motion, strength, balance, and confidence.
Exercises progress from seated calf raises to standing versions, eventually adding resistance. Resistance band exercises for the ankle in all directions rebuild the smaller stabilizing muscles that prevent future sprains.
Proprioception refers to the body's awareness of joint position in space. Ankle injuries disrupt this sense, increasing fall and re-injury risk.
Balance training starts with simple single-leg standing on a firm surface, progressing to unstable surfaces like foam pads or wobble boards. These exercises retrain the nervous system and are just as important as strength work for long-term ankle health.
Time alone does not determine readiness for running. Patients should meet specific benchmarks before beginning a running program:
Full, pain-free range of motion equal to the uninjured ankle
Single-leg calf raise strength at least 80% of the uninjured side
Ability to hop on the injured leg without pain or instability
Walking at least 30 minutes without swelling or discomfort
Running programs should start with walk-run intervals, not continuous jogging. A typical progression begins with 30 seconds to one minute of jogging followed by four minutes of walking, repeated for 20 to 30 minutes.
Returning to sports requires more than running fitness. Cutting, pivoting, and lateral movements stress the ankle differently than straight-line activity.
Agility ladder drills, cone drills, and sport-specific movements should be introduced gradually. Athletes should practice these movements at reduced speed before attempting game-speed activity. Rushing this phase causes many re-injuries that could have been prevented with patience.
Many athletes benefit from ankle bracing or taping when returning to high-risk activities. Lace-up braces provide support without significantly limiting movement.
Current sports medicine guidelines indicate that functional bracing can reduce re-injury risk by up to 50% in the first year after return to play. Some patients eventually wean off bracing as strength and confidence improve, while others prefer continued support during athletic activity.
Patients who underwent surgical fixation with plates and screws should monitor for hardware-related issues. Warning signs include:
New pain or tenderness directly over hardware
Skin irritation or prominence where screws are located
Clicking or catching sensations in the ankle
Swelling that returns after months of resolution
Hardware removal is sometimes necessary but is not routine. Most patients keep their hardware permanently without problems.
Individual recovery timelines vary based on several factors:
Fracture severity and location: Complex fractures involving multiple bones or joint surfaces heal more slowly than simple, single-bone breaks.
Age: Younger patients typically recover faster than older adults.
Smoking and vaping: Both significantly impair bone healing and increase complication rates.
Medical conditions: Diabetes and other chronic conditions can extend recovery time.
Nutrition: Adequate calcium, vitamin D, and protein intake support bone repair.
Physical therapy compliance: Patients who follow their program consistently see better outcomes than those who skip sessions.
Patients recovering from a fracture may wonder whether their symptoms are normal or require medical attention, similar to questions that arise with a sprained ankle. Tracking symptoms and comparing them to expected recovery benchmarks helps identify when to seek care.
Bone healing typically takes 6 to 8 weeks, but full recovery including return to sports and high-impact activities often takes 9 to 12 months. Some patients report continued improvement up to two years after injury.
Many ankle fractures heal well with casting alone. Stable fractures where bones remain properly aligned typically do not require surgery. Unstable fractures or those with significant displacement usually need surgical fixation.
Patients with right ankle injuries should not drive until fully weight-bearing and off pain medications. This typically means a minimum of 8 weeks, though it can vary based on healing and reaction time testing. Left ankle injuries may allow earlier driving if the vehicle is automatic.
Range of motion exercises, calf strengthening, resistance band work, and balance training all support recovery. A physical therapist creates individualized programs based on healing progress and patient goals.
Some swelling after activity is common for several months post-injury. Elevation and compression help manage this. Persistent or worsening swelling should be evaluated by a healthcare provider.
The recovery of a broken ankle follows a predictable timeline from immobilization through full return to activity, but individual factors influence each patient's path. The key milestones are moving from non-weight bearing to partial weight bearing around two weeks, transitioning to supportive shoes between weeks six and eight, and meeting strength benchmarks before returning to running and sports.
For questions between medical appointments or guidance on symptoms during recovery, visit Doctronic.ai for AI-powered medical consultations available 24/7.
Why Women Over 40 Experience More Joint PainWomen entering their 40s often notice new aches and stiffness that weren't present in their younger years. This increase in [...]
Read MoreWhy TMJ Pain Intensifies During Sleep HoursTemporomandibular joint (TMJ) disorders affect millions of people, but many notice their symptoms become particularly troublesome [...]
Read MoreUnderstanding Celebrex and Aspirin InteractionCelebrex (celecoxib) and aspirin are both nonsteroidal anti-inflammatory drugs (NSAIDs) commonly used for pain management and [...]
Read More
Join 50,000+ readers using Doctronic to understand symptoms, medications,
and next steps.
Add your phone number below to get health updates and exclusive VIP offers.
By providing your phone number, you agree to receive SMS updates from Company. Message and data rates may apply. Reply “STOP” to opt-out anytime. Read our Privacy Policy and Terms of Service for more details.
Save your consults. Talk with licensed doctors and manage your health history.