
Best Yoga Poses for Back Pain Relief
Why Yoga Works for Back PainBack pain affects most adults at some point in their lives. The usual advice involves rest, pills, or expensive treatments. But yoga offers [...]
Read More
Medically reviewed by Alan Lucks | MD, Alan Lucks MDPC Private Practice - New York on March 16th, 2026.
Yoga relieves back pain by strengthening core muscles, improving spinal alignment, and reducing tension through mindful breathing
Gentle poses like Cat-Cow, Child's Pose, and Sphinx work best for lower back discomfort
Standing poses build structural support while restorative poses address chronic tension
Props like blocks and bolsters make poses safer and more accessible for beginners
Consistency matters more than intensity: even 10 minutes daily produces better results than occasional long sessions
Doctronic.ai can help assess your back pain before starting any new exercise routine
Back pain affects most adults at some point in their lives. The usual advice involves rest, pills, or expensive treatments. But yoga offers something different: a way to address the root causes of pain rather than just masking symptoms. The best yoga poses for back pain relief target three key areas: weak muscles, poor alignment, and chronic tension. Understanding why these poses work helps you practice them with intention. Doctronic.ai users often seek guidance about back pain, and yoga frequently comes up as a recommended complementary approach. The key is knowing which poses to use and how to do them safely.
Your core does more than create a flat stomach. These muscles wrap around your entire midsection and act like a natural back brace. When core muscles are weak, your spine takes on stress it was never designed to handle. Yoga poses that engage the core teach these muscles to fire properly during everyday movements. This support takes pressure off spinal discs and joints. The result is less pain during activities like lifting, bending, and even sitting.
A stiff spine is a painful spine. When vertebrae cannot move freely, certain segments become overworked while others stay locked. Yoga creates balanced mobility throughout the entire spine. Each pose encourages movement in specific directions: forward, backward, sideways, and rotational. This variety prevents the stiffness that comes from repetitive daily motions. Better alignment also means nerves have more space, reducing the shooting pains that travel down legs and arms.
Breathing affects pain more than most people realize. Shallow, rapid breathing keeps the nervous system in a stressed state. This stress response tightens muscles and increases pain sensitivity. Deep, slow breathing activates the relaxation response. Muscles relax, blood flow improves, and pain signals quiet down. Every yoga pose pairs with specific breathing patterns that amplify these benefits.
The lower back takes the most abuse in daily life. These three poses specifically target the lumbar region, where most back pain originates.
Start on hands and knees with wrists under shoulders and knees under hips. Inhale while dropping the belly toward the floor and lifting the head. Exhale while rounding the spine toward the ceiling and tucking the chin. Move slowly between these two positions for 10 to 15 breaths. This simple movement lubricates spinal joints and releases tension in the muscles along the spine. Do this first thing in the morning to counteract overnight stiffness.
Kneel on the floor with big toes touching and knees spread apart. Sit back onto the heels and fold forward, extending arms in front or alongside the body. Rest the forehead on the floor and breathe deeply. This pose creates gentle traction that opens space between vertebrae. Hold for one to three minutes whenever the lower back feels compressed or tight.
Lie face down with legs extended behind you. Place forearms on the floor with elbows directly under shoulders. Press forearms down and lift the chest slightly. Keep the lower belly on the floor and shoulders away from the ears. This mild backbend strengthens the muscles that support the lumbar curve. Hold for five to ten breaths, building duration over time.
 Standing Poses for Structural Support
Standing poses build the leg and hip strength that takes pressure off the spine during upright activities.
From hands and knees, tuck toes and lift hips toward the ceiling. Press your hands firmly into the floor while reaching the tailbone up and back. Let the head hang freely between the arms. Bend knees slightly if hamstrings feel tight. This pose lengthens the entire back body while strengthening arms and shoulders. It also reverses the compression that happens from sitting.
Stand with feet wide apart, right foot pointing forward and left foot turned slightly in. Extend arms to shoulder height. Reach the right hand toward the right foot while the left arm reaches toward the ceiling. Keep both legs straight and the chest open. This pose stretches the sides of the torso, which often become tight and contribute to back pain. Hold for five breaths on each side.
When back pain has become a constant companion, these passive poses allow deep release without effort.
Sit sideways next to a wall, then swing your legs up the wall while lying back. Scoot your hips as close to the wall as comfortably. Rest arms at sides with palms facing up. Stay here for five to fifteen minutes. This position reverses blood flow, reduces swelling in the legs and feet, and allows the lower back to fully relax. While this pose promotes relaxation and gentle decompression, it also improves venous return and reduces lower-limb fatigue.
Lie on your back with knees bent and feet flat. Drop both knees to the right while turning the head left. Extend arms out to the sides at shoulder height. Breathe into the left side of the lower back. Hold for one to two minutes, then switch sides. Twisting poses wring out tension that accumulates in the muscles alongside the spine.
Yoga should reduce pain, not create it. Following these guidelines keeps practice safe and effective.
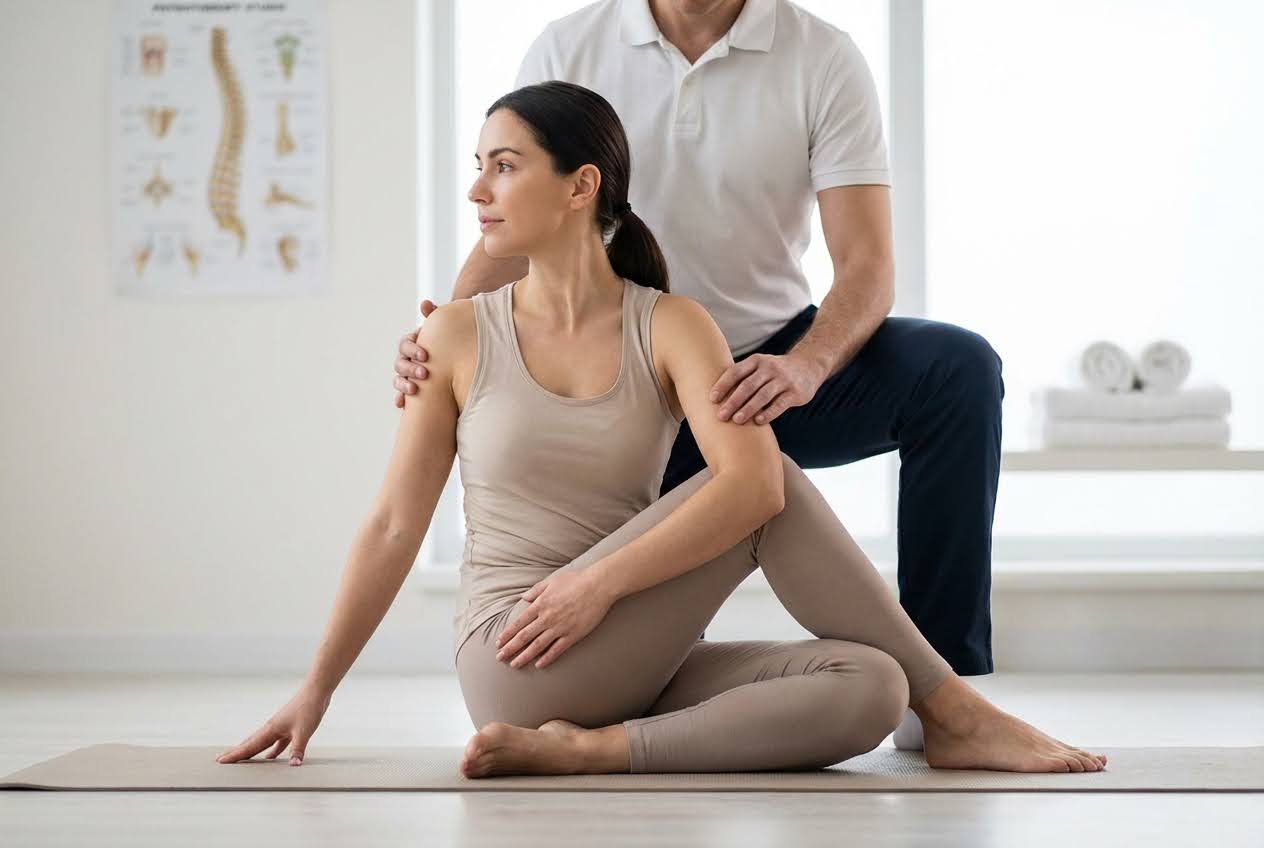
Props are not signs of weakness. They make poses accessible and effective for all body types. Use a block under the hand in Triangle Pose if reaching the floor strains the back. Place a bolster under the knees in Reclined Twist for extra support. Sit on a folded blanket during seated poses to tilt the pelvis forward. These modifications often make poses more beneficial, not less.
Sharp pain means stop immediately. Dull aching that worsens during a pose signals the need for modification. Numbness or tingling in arms or legs requires backing off. Pain that continues after practice suggests something went wrong. Listen to these signals rather than pushing through. Consulting with a healthcare provider through Doctronic.ai can help determine whether specific movements are appropriate for your condition.
Sporadic yoga sessions provide temporary relief. Consistent practice creates lasting change. Start with just ten minutes each morning. Choose three or four poses that address your specific pain patterns. Practice at the same time daily to build the habit. Increase duration gradually as the body adapts. Track how your back feels over weeks and months, not days. The people who get the most relief from yoga are those who show up regularly, even when motivation is low.
Most people notice some improvement within two to four weeks of consistent daily practice. Significant changes in chronic pain typically take two to three months. The key is practicing regularly rather than occasionally doing longer sessions.
Yes, if done incorrectly or with poses that are too advanced. Always start with gentle poses and use modifications. Stop any pose that causes sharp pain or worsening symptoms. Working with a qualified instructor initially helps prevent injury.
Daily practice of 10 to 20 minutes produces better results than longer sessions done once or twice weekly. Consistency matters more than duration. Even five minutes of Cat-Cow and Child's Pose each morning can make a meaningful difference.
Gentle, slow-paced styles like Hatha, Yin, and Restorative yoga work best for back pain. Avoid power yoga, hot yoga, or fast-paced Vinyasa until pain has resolved. These gentler styles allow time to focus on alignment and breathing.
Some yoga poses can help with herniated discs, while others can make them worse. Forward folds and deep twists often aggravate disc issues. Gentle backbends and core-strengthening poses typically help. Always get clearance and guidance from a licensed healthcare provider before starting yoga with a disc injury, as individual cases vary and certain movements may be contraindicated.
The best yoga poses for back pain relief strengthen core muscles, improve alignment, and ease tension when practiced consistently and safely. Gentle daily movement often brings lasting improvement. Before starting a new routine, Doctronic.ai can help assess your symptoms and guide you toward safe, personalized care.
Why Yoga Works for Back PainBack pain affects most adults at some point in their lives. The usual advice involves rest, pills, or expensive treatments. But yoga offers [...]
Read More